Table of Contents
Requirements
Please ensure that the following tools and packages are installed on your corresponding system:
- Install CMake
- Install Visual Studio
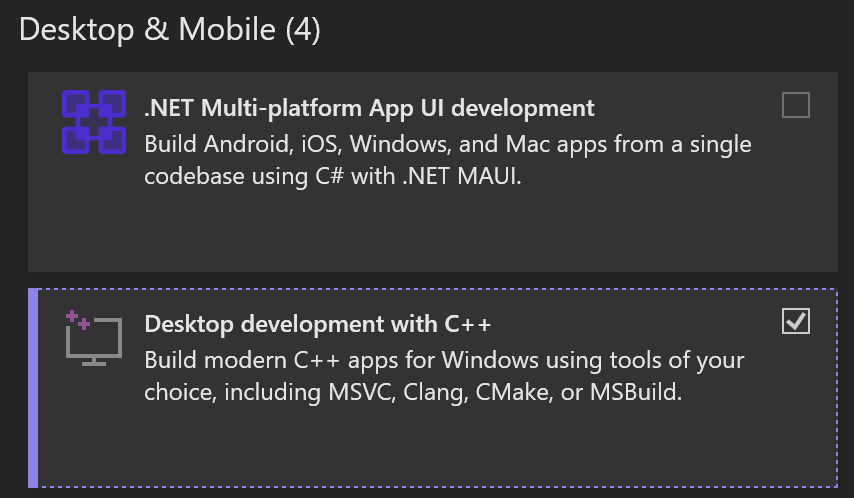
Please ensure that the C++ desktop development package is included when you install it:

Note – Visual Studio is not mandatory as long as you have an equivalent C++ toolchain / IDE installed, for example CLion or Visual Studio Code.
First, ensure that Homebrew is installed. Then install CMake and Ninja:
brew install cmake ninja
On macOS, the C++ toolchain is provided by Xcode, which can either be downloaded directly or installed via the command line:
xcode-select --installOn Linux, the C++ toolchain is provided by the system package manager. We additionally have to install X11 and Wayland development packages:
apt
sudo apt install cmake ninja-build build-essential libwayland-dev \
                 libxkbcommon-dev wayland-protocols extra-cmake-modules xorg-dev libasound2-dev
dnf
sudo dnf install cmake ninja-build gcc-c++ libX11-devel libXcursor-devel \
                 libXrandr-devel libXinerama-devel libXi-devel mesa-libGL-devel \
                 mesa-libGLU-devel wayland-devel libxkbcommon-devel wayland-protocols-devel extra-cmake-modules
Then clone the cerlib Git repository:
git clone https://github.com/cemderv/cerlib
cd cerlib
Some knowledge of (modern) C++ is recommended.
The game
The repository contains a folder named mygame, which is our game template. It consists of:
src/MyGame.hpp: The class that implements our gamesrc/Main.cpp: Contains the executable entry point, which creates & runs our game classCMakeLists.txt: Sets up the game’s CMake project and links with cerlibassetsfolder: This folder will contain the game’s assets
Let’s have a look at MyGame.hpp:
#pragma once

#include <cerlib.hpp>

class MyGame : public cer::Game
{
public:
  MyGame()
  {
    window = cer::Window{"MyGame Window"};
  }

  void load_content()
  {
  }

  bool update(const cer::GameTime& time)
  {
    // Update game logic. Use the time parameter as a reference point for
    // how much time has passed since the last update:
    // ...

    return true;
  }

  void draw(const cer::Window& window)
  {
    // Draw game content into window:
    // ...
  }

  cer::Window window;
};
The Game class represents the central game instance which is responsible for the entire game’s lifecycle. Your game derives from this class and is ready to run after it’s created. We then create the game’s window.
We override various methods of the class to implement game logic and rendering:
load_content(): Responsible for loading the game’s initial assetsupdate(): Responsible for updating the game’s logicdraw(): Responsible for drawing the game’s visuals
Running the game
Simply open the folder in Visual Studio, since Visual Studio has built-in support for CMake projects:

The game is then ready for development as per the usual Visual Studio workflow.
Use any IDE or editor that supports CMake.
If you wish to use Xcode instead, generate a project for it as follows:
# Change to the game's directory
cd cerlib/mygame

# Generate a project for Xcode
cmake -S . -B build -G Xcode

# Open the project in Xcode
open build/MyGame.xcodeprojUse any IDE or editor that supports CMake.
Or cd into the game’s directory and run CMake to configure and build the game:
# Change to the game's directory
cd cerlib/mygame

# Configure the game for development
cmake --preset debug

# Then build the game
cmake --build --preset debug && cd build

# Start the game
./MyGame
Note – You can always build the game however you please, since it’s a normal CMake project. You’re not tied to any editor or IDE. This introduction simply guides you through a path of least resistance.
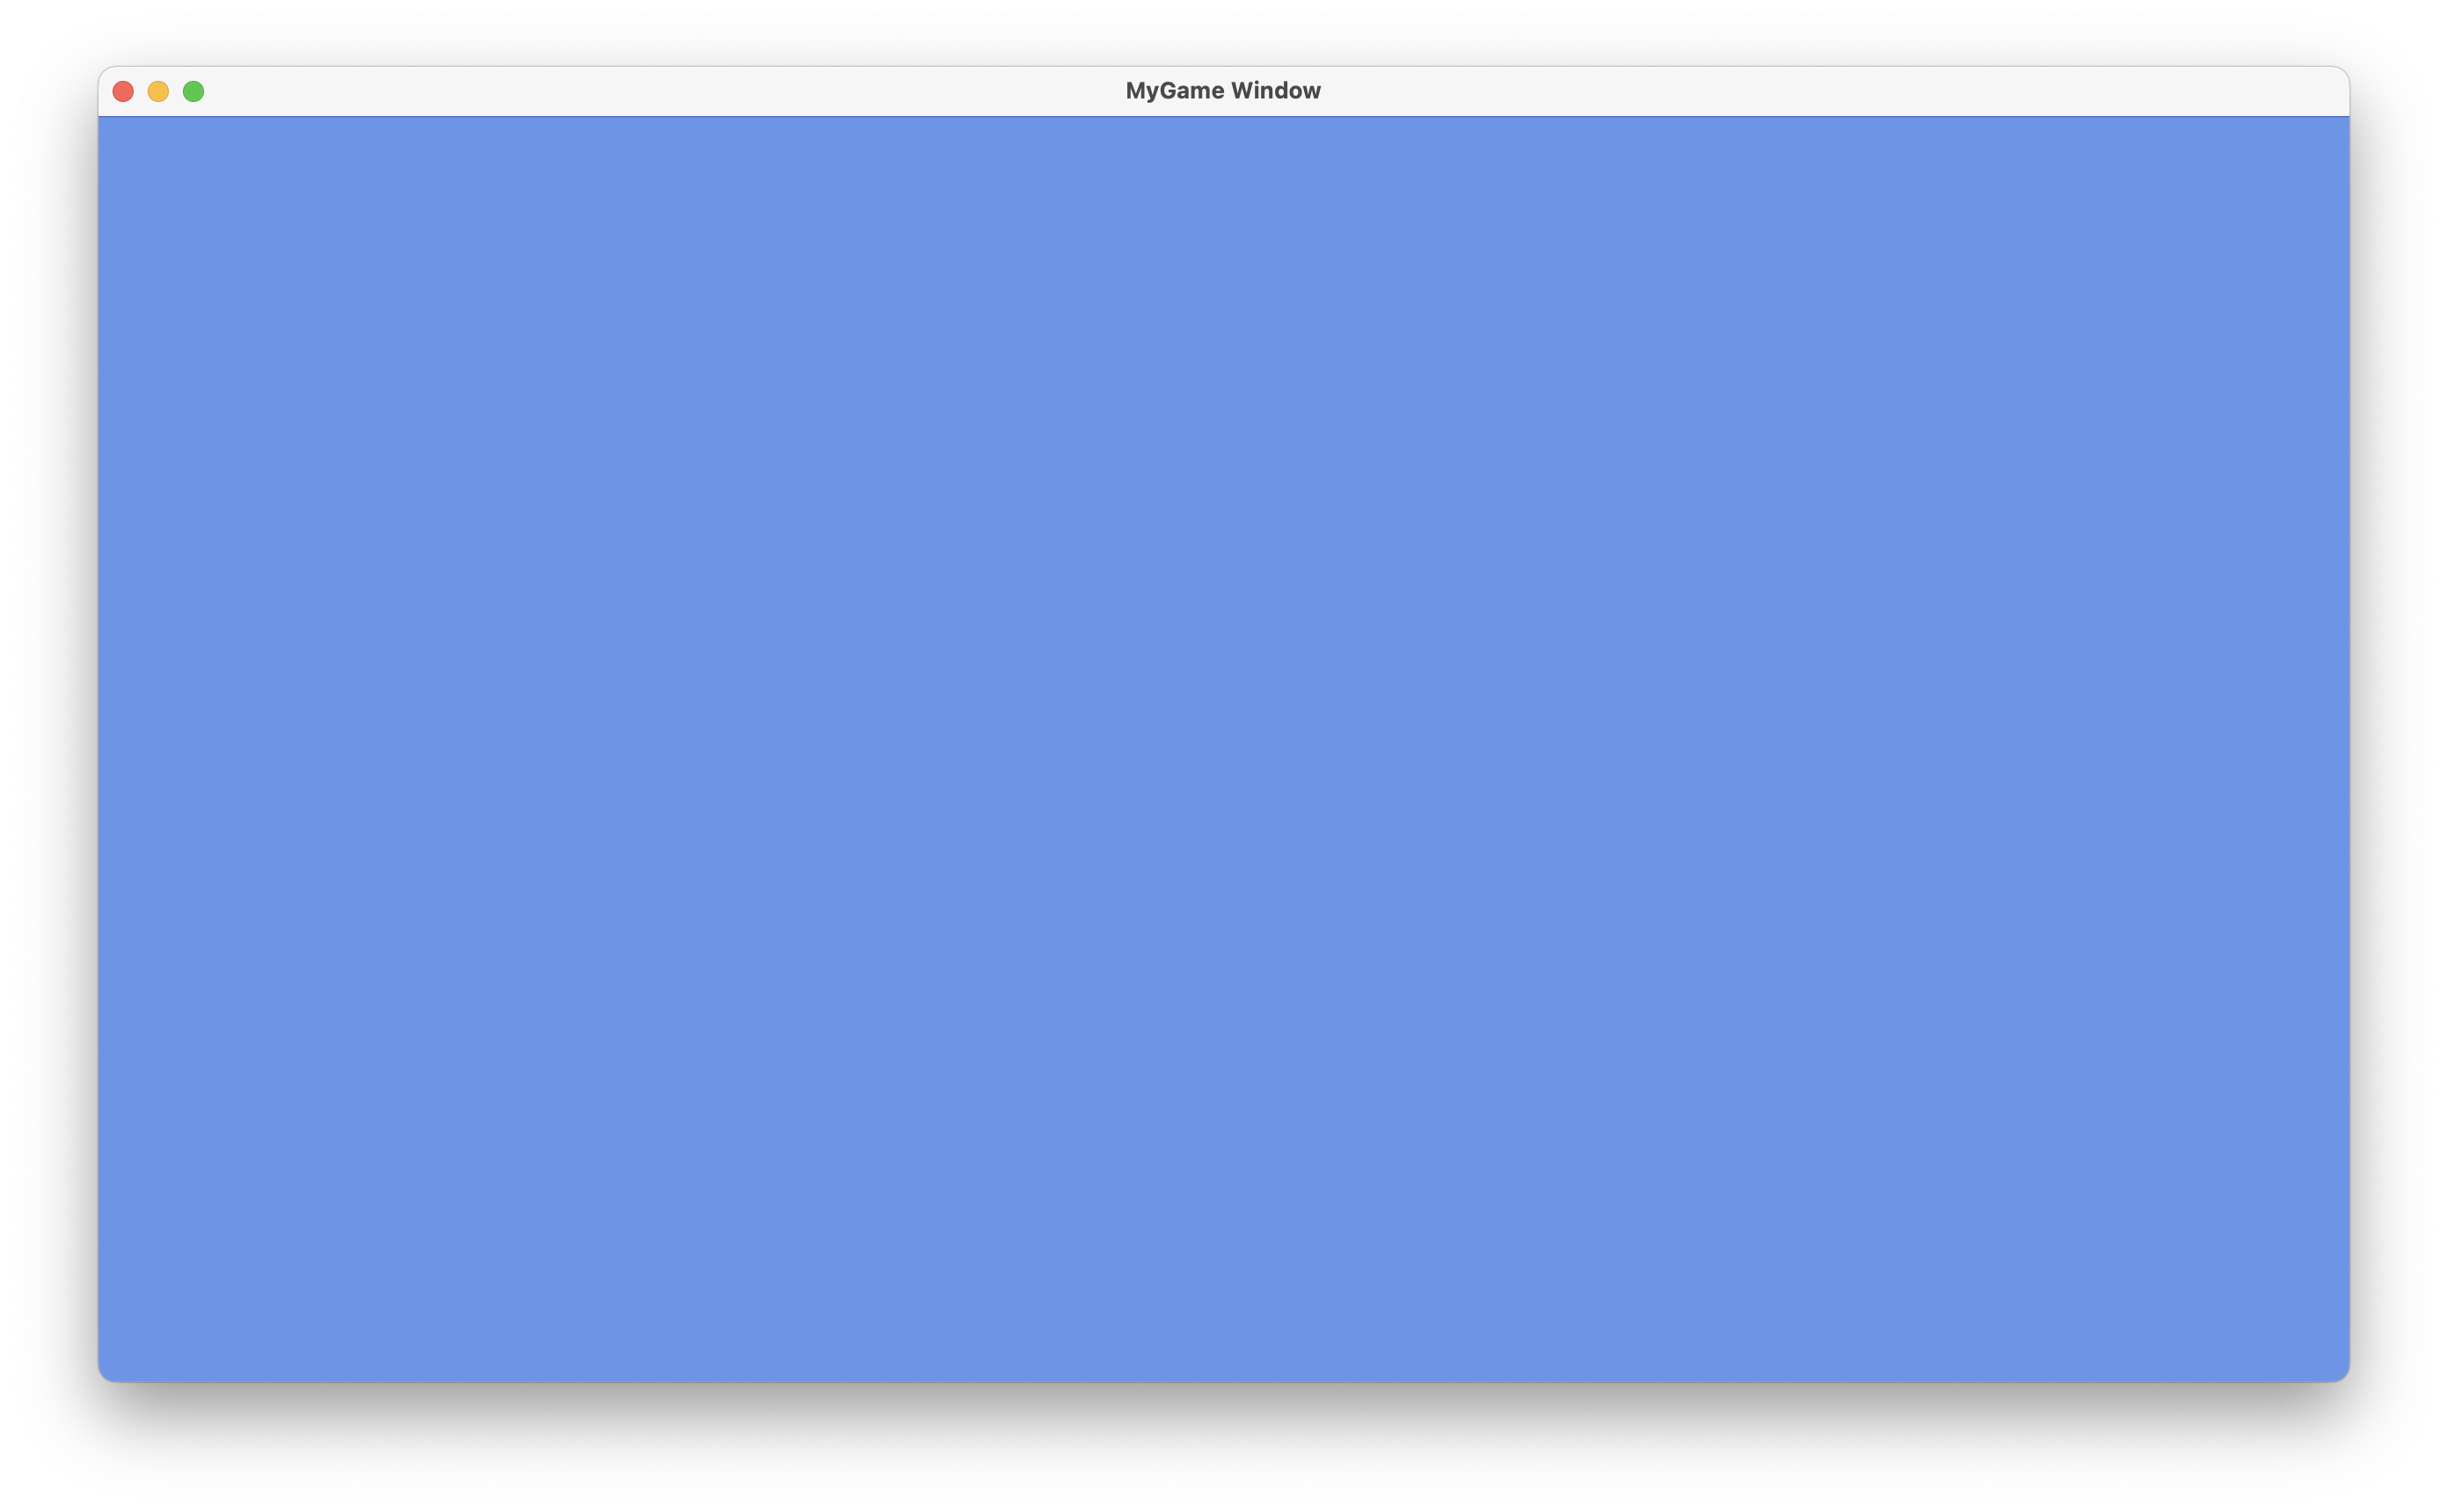
You should now see the game running:

Congratulations! You got your game running. Sadly, it currently neither updates nor draws anything.
Let’s change that!
Next: Drawing Sprites