Table of Contents
Adding a sprite
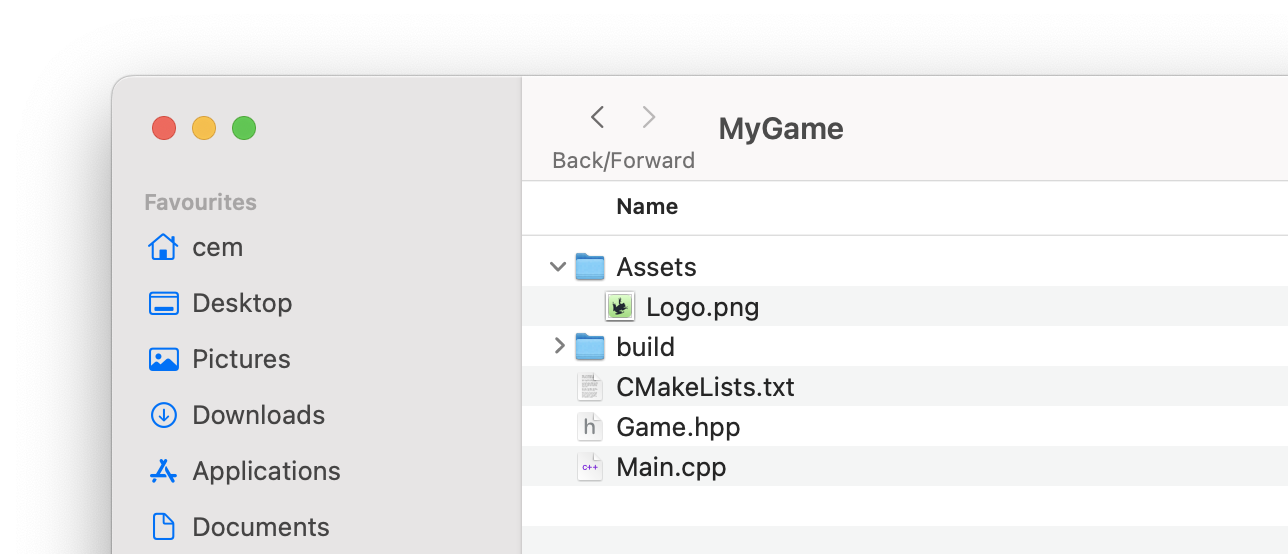
To draw a sprite, we first have to have its image stored in the game’s assets folder. This is where all of the game’s resources are stored.
The game template includes a logo.png file by default.
It should have the following structure:
Now add a cer::Image variable to our game class and load it in the load_content() method:
class MyGame : public cer::Game
{
public:
  // ...

  void load_content() override
  {
    image = cer::load_image("logo.png");
  }

  // ...

private:
  cer::Image image;
};
Note – The game’s resources are always reflected by the contents of the
assetsfolder. Simply modify the contents of the folder, the build system will take care of the resource’s availability in the game. You don’t have to reconfigure the game using CMake, it detects the changes automatically.
Drawing
To draw the image, we’re going to use the cer::draw_sprite function. Remember that all rendering happens during the game’s draw() method:
void draw(const cer::Window& window) override
{
  cer::draw_sprite(image, {200, 200});
}
Build the game, either via your text editor / IDE or command line:
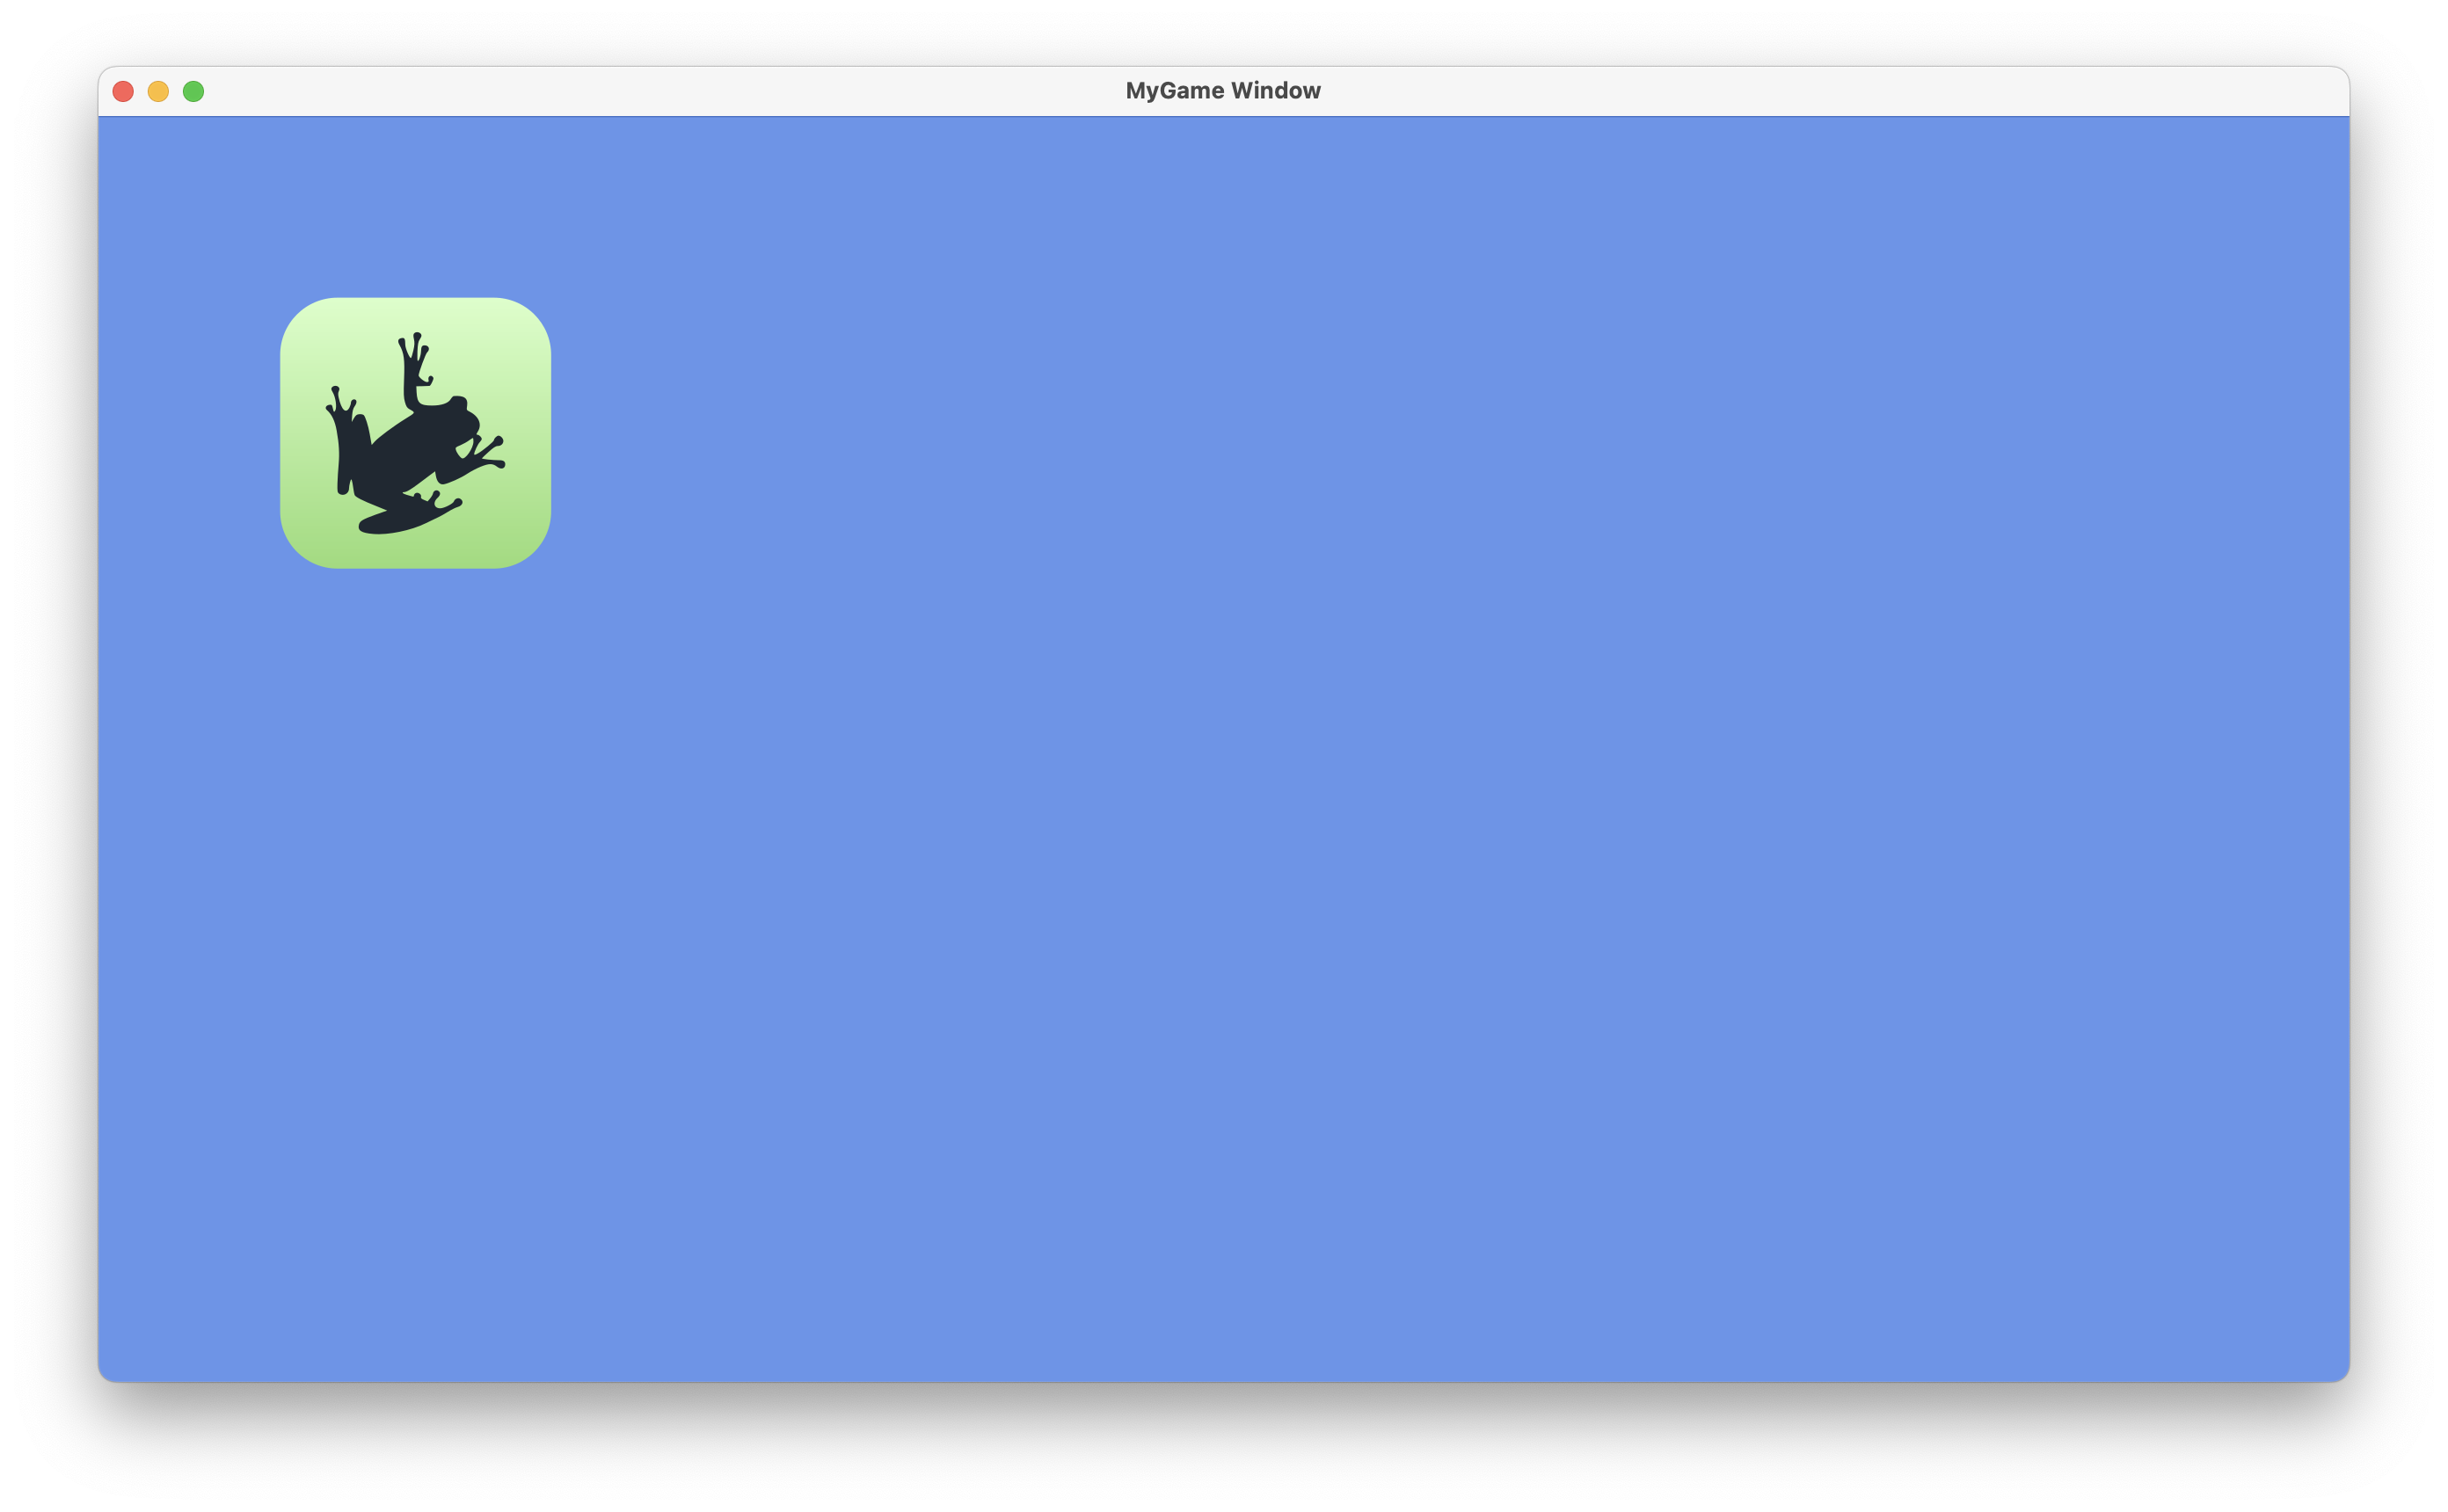
cmake --build --preset debugYou should now see your sprite on screen!
Game Time
We’re going to animate the sprite in the Update method, which has a parameter called time.
This gives us information about how much time has passed since the last call to update (delta time). By default, Updateis called in an interval equivalent to the display’s refresh rate. This means that on a 60 Hz display the delta time would be 1.0 / 60 = 0.1666 seconds, assuming that the system is able to keep up with this frame rate.
We’re just going to animate the sprite’s movement based on the total run time of the game. Simply add a variable to our game and update it in the update method:
class MyGame : public cer::Game
{
public:
  bool update(const cer::GameTime& time) override
  {
    sprite_animation_time = time.total_time;
    return true;
  }

  // ...

private:
  double sprite_animation_time = 0.0;
};
Modify the draw method so that the sprite is drawn at a different position, based on the time:
void draw(const cer::Window& window) override
{
  const double distance = 50.0;
  const double speed    = 2.0;
  const float offset    = float(cer::sin(sprite_animation_time * speed) * distance);

  cer::draw_sprite(img, {100.0f + offset, 50.0f});
}
The sprite should now move in a wavy pattern along the X-axis, due to the cer::sin function used.

Sprite
The cer::draw_sprite function takes many parameters, such as color, rotation and flip effects. All of these overloads are just forwarding calls to the cer::draw_sprite function that takes a cer::Sprite parameter. Let’s take a look at the cer::Sprite struct:
struct Sprite
{
  cer::Image                    image;
  cer::Rectangle                dst_rect;
  std::optional<cer::Rectangle> src_rect;
  cer::Color                    color = cer::white;
  float                         rotation;
  cer::Vector2                  origin;
  cer::Vector2                  scale = {1.0f, 1.0f};
  cer::SpriteFlip               flip  = cer::SpriteFlip::None;
};
By creating a cer::Sprite directly, we can specify every detail of how it’s drawn. For example:
const cer::Sprite sprite {
  .image    = image,
  .dst_rect = { 200, 200, 128, 128 }, // Draw at {200, 200}, with size {128, 128}
  .color    = cer::red,
  .flip     = cer::SpriteFlip::Horizontally,
};

cer::draw_sprite(sprite);
Which variation of cer::draw_sprite you choose is up to you and your convenience.
Destination and source
As you have seen, a sprite has two special properties called dst_rect and src_rect. The destination specifies the sprite’s area within the canvas. A destination of {200, 250, 128, 64} means that the sprite is drawn with its top-left corner at position {200, 250}, of size {128, 64}. This means that its right border will be at X-coordinate 200+128=328, while its bottom border will be at Y-coordinate 250+64=314.
The destination rectangle is often used to stretch or shrink (scale) a sprite, disregarding its image size. When we initially drew the sprite using cer::draw_sprite(image, {200, 200}), the function calculated a destination rectangle for us. This destination rectangle being our position, and the sprite’s image as its size.
The source rectangle on the other hand refers to coordinates within the image that should be drawn. To illustrate this, let’s take a look at the following image:
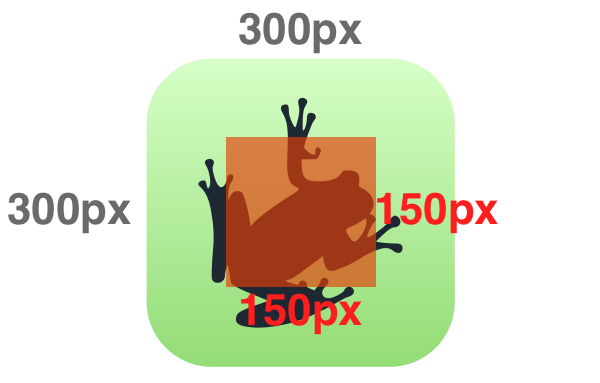
The red rectangle represents the source rectangle. In this case, it would be {75, 75, 150, 150}.
The source rectangle is often used to implement sprite sheets and sprite animations. This allows multiple images to be stored in a single large image (atlas) and to still be drawn independently. Such a technique is necessary when your game has hundreds or thousands of sprites in order to minimize texture changes in the internal graphics API, which are an expensive operation.
Even cerlib’s text rendering makes use of source rectangles! Since all characters are stored in a large image, each character in a string is drawn as a sprite that references its region in that image.
Samplers
We talked about how the destination rectangle is able to scale a sprite, disregarding its image size. This is thanks to image interpolation, which is controllable via the cer::set_sampler function.
Let’s add another image to our assets folder and reconfigure it. But this time, let’s choose a low-resolution image to make the effect clearer. I’m going to choose the favicon-32x32.png file from the docs/assets folder, which is 32×32 pixels.
A cer::Sampler describes how an image is interpolated and repeated across image coordinate boundaries. This is especially useful if you desire a pixelated look for your game, or for effects such as texture scrolling.
The cer::set_sampler function can be called at any time; cerlib remembers its state until it’s changed again. We now want to change our image to the small image and draw it upscaled using a destination rectangle:
void load_content() override
{
  image = load_content("favicon-32x32.png");
}

void draw(const cer::Window& window) override
{
  // Draw the image at position {200, 200}, but scale it up to {300, 300} pixels.
  cer::draw_sprite(image, {200, 200, 300, 300});
}
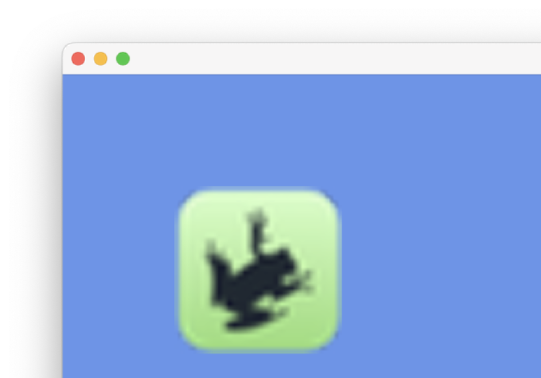
The image should now be upscaled and blurry, since by default cerlib uses linear interpolation:
Now set a sampler before drawing the sprite which disables image interpolation:
void draw(const cer::Window& window) override
{
  cer::set_sampler(cer::Sampler {
    .filter    = cer::ImageFilter::Point,
    .address_u = cer::ImageAddressMode::ClampToEdge,
    .address_v = cer::ImageAddressMode::ClampToEdge,
  });

  cer::draw_sprite(image, {200, 200, 300, 300});
}
This will result in the sprite being pixelated:
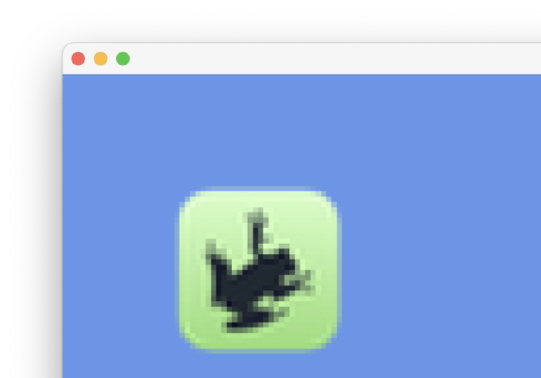
Filter refers to the interpolation mode. Point uses nearest neighbor filtering (see cer::ImageFilter::Point). The address* fields refer to how texels are sampled when the image coordinate falls outside the image bounds. ClampToEdgespecifies that every texel that lies outside of the image bounds results in the image border’s color. address_u specifically refers to texels in the X-direction of the image, while address_v refers to texels in the Y-direction.
As an example, try changing the address_u value to Repeat and address_v to Mirror:
void draw(const cer::Window& window) override
{
  cer::set_sampler(cer::Sampler {
    .filter    = cer::ImageFilter::Point,
    .address_u = cer::ImageAddressMode::Repeat,
    .address_v = cer::ImageAddressMode::Mirror,
  });

  cer::draw_sprite(cer::Sprite {
    .image    = image,
    .dst_rect = {200, 200, 300, 300},
    .src_rect = cer::Rectangle{0, 0, 128, 128},
  });
}
We can now see that the image is repeated across the X-axis, and mirrored across the Y-axis:
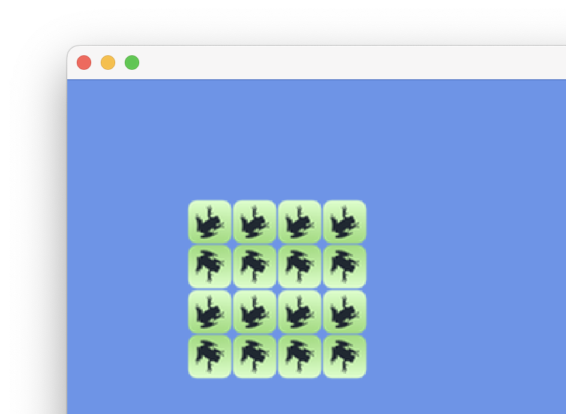
The image repeats four times, since we specified a source rectangle size of 128×128 pixels, while the image is 32×32. Remember that we can use the source rectangle to implement texture scrolling. Try using the spriteAnimationTimevariable as the X and Y position for the source rectangle’s position.
cerlib provides predefined samplers, accessible via static cer::Sampler properties, e.g. cer::Sampler::LinearRepeat and cer::Sampler::PointClamp.
A cer::Sampler has many more options, so feel free to experiment with them.
Blend states
Blend states allow us to define how colors are blended together. By default, cerlib uses a blend state that has alpha blending enabled, specifically cer::BlendState::non_premultiplied.
Let’s first change the image back to the previous, large image, and then draw the sprite three times with slightly different positions:
void load_content() override
{
  image = cer::load_image("Logo.png");
}

// ...

void draw(const cer::Window& window) override
{
  cer::draw_sprite(image, {200, 200});
  cer::draw_sprite(image, {400, 300});
  cer::draw_sprite(image, {600, 400});
}
We’ll use the cer::set_blend_state function to set the active blend state. Let’s do that before we draw the sprites:
void draw(const cer::Window& window) override
{
  cer::set_blend_state(cer::BlendState::opaque());
  cer::draw_sprite(...);
  // ...
}
The opaque disables alpha blending, as seen in the following image:
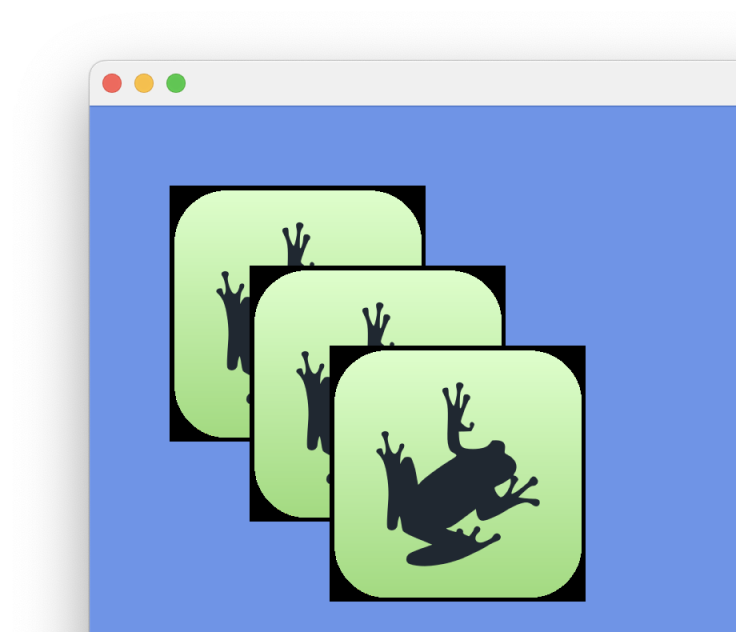
Now change the drawing code to the following:
void draw(const cer::Window& window) override
{
  cer::set_blend_state(cer::BlendState::opaque());
  cer::draw_sprite(image, {200, 200});

  cer::set_blend_state(cer::BlendState::non_premultiplied());
  cer::draw_sprite(image, {400, 300});

  cer::set_blend_state(cer::BlendState::additive());
  cer::draw_sprite(image, {600, 400});
}
That will produce the following image:
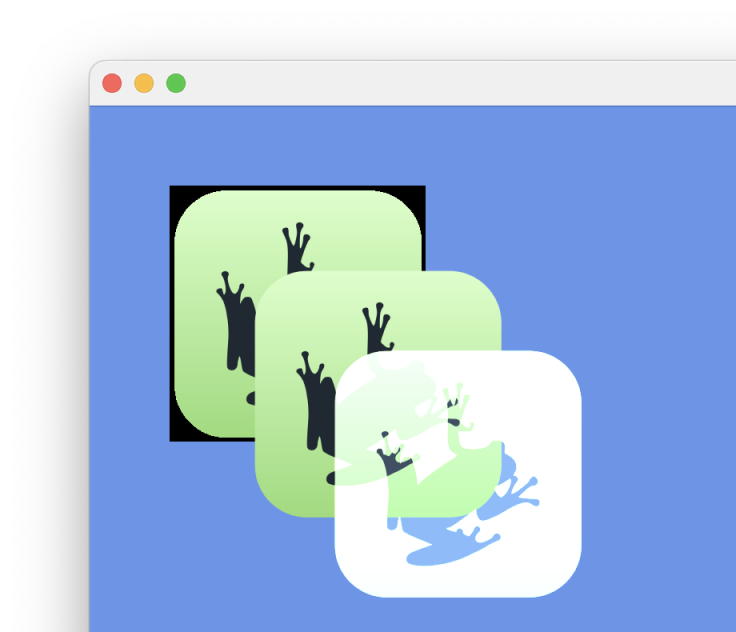
cerlib remembers the active blend state until it’s unset, just like cer::set_sampler.
Like cer::Sampler, cer::BlendState has various properties for you to experiment with.
Transformations
Sometimes it’s necessary to transform a specific group of 2D objects (or even all of them), but without manually modifying their positions, rotations and sizes.
A transformation matrix allows you to do just that. It encompasses a certain order of transformations that are applied to your objects relative to their default transformation.
Imagine drawing a 2D scene and wanting to scale the entirety of it by a specific factor, e.g. 1.5. You could draw all objects of that scene by offset their positions and scaling their sizes accordingly, for each draw_sprite call.
Or you could construct a matrix using cer::scale({1.5f, 1.5f}) and apply that to all of them. We can apply a transformation using the cer::set_transformation function, like this:
void draw(const cer::Window& window) override
{
  cer::set_transformation(cer::scale({1.5f, 1.5f}));
  cer::draw_sprite(image, {200, 200});
  cer::draw_sprite(image, {400, 300});
  cer::draw_sprite(image, {600, 400});
}
This would scale everything by a factor of 1.5 across both the X- and Y-axis. As an example, {-1.5f, 2.0f} would mirror the objects along the Y-axis, and also scale them by a factor of 2.0 along the Y-axis. In other words, negative factors allow mirroring effects.
Another example would be if you wanted to first rotate the objects, then scale them, and finally offset their positions by a specific amount. This is done by multiplying such matrices in a specific order:
cer::Matrix transform = cer::rotate(cer::radians(45.0f)) // First, rotate by 45 degrees
                      * cer::scale({1.5f, 3.5f})         // ... then scale by factor {1.5, 3.5}
                      * cer::translate({100, -100})      // ... finally move by offset {100, -100}

// Apply to all subsequent drawings
cer::set_transformation(transform);
Transformation matrices are often used to implement 2D cameras, since they typically require movement (cer::translate) as well as a zoom (cer::scale). A camera’s transformation is therefore a combination of both matrices.
As with all states, the transformation is remembered by cerlib until it’s changed again. To restore the default transformation, which is an identity matrix, simply set a default-constructed matrix:
cer::set_transformation({});If you wish to set a transformation temporarily and restore the previously set transformation afterwards, you can obtain the active transformation before setting yours. Like so:
cer::Matrix previous_transformation = cer::current_transformation();
cer::set_transformation(my_transformation);

// Draw my objects
// ...

// Restore the previous transformation
cer::set_transformation(previousTransformation);
That’s pretty much it about transformations, and also for this chapter!
How about we draw some text?
Next: Drawing Text